Showing posts with label Heat 'n Stick. Show all posts

Thursday, 25 October 2012

Northern Snow Flurry

Good morning everyone. Here's another one of the cards we made in card class on Wednesday, using the Snow much Fun stamp set. The photo doesn't really do this card justice as it was so sparkly and glittery!


We used Bashful Blue for the base card and the new embossing folder Northern Flurry to emboss the Whisper White layer. This embossing folder is beautiful with snowflakes in the corner and room for a stamped image.


We used the Big Shot to cut the 'doily' circle using the Perfect Pennants die and stamped, coloured and glittered the image as described in Tuesday's post. If you would like to buy the Snow Much Fun stamp set, please get in touch. x
Posted by Picasa

Tuesday, 23 October 2012

Stocking time

Morning everyone, here's the first card we made at card class last Wednesday. We used the Snow Much Fun stamp set and lots of glitter:


We used Baja Breeze for the base card and a piece of designer paper from the Snow Festival papers. The image was stamped with StazOn ink and coloured with markers. We then covered the image with Versamark,covered it with Heat 'n Stick, heated it with the heat  gun to melt the powder and then covered it with Dazzling Diamond glitter. We then heated it again which sets the glitter so it doesn't come off when you rub it. This photo gives you a better view:
 
Using Heat 'n Stick is a very effective way to apply glitter that doesn't come off and all the ladies love using this technique. Mind you, you should have seen my dining table and floor by the time they were finished....
I'll show you another card we made soon. x 
Posted by Picasa

Wednesday, 21 December 2011

Serene Snowflakes

Hi everyone, I just wanted to share these Serene Snowflake cards with you:


These were very quick and easy to make. I took a 12"x12" sheet of Whisper White and stamped it all over using the Serene Snowflakes stampset and Pool Party, Island Indigo and Not Quite Navy ink. I then cut them into 3" squares.


The card base is 4" square and either Pool Party or Indigo Island card stock. The layer is  3 1/4" square. By using these measurements you can get a lot of cards out of a 12"x12" sheet. Once I had stamped my snowflakes in ink, I stamped some snowflakes in Versamark and sprinkled Heat 'n Stick powder over them, heated it and then covered the snowflake with Dazzling Diamonds glitter and heats set it. This is the same method as I used for the Polar Party cards in my previous post. Here is a close up where I'm attempting to show you the glitter snowflake:


Here's another one. Again, it's difficult to show you the full effect in these photos. I added a few rhinestones in the centre of some of the snowflakes for the finishing touch:

 
The sentiment is from the Polar Party stampset. This is one of the final cards:
Posted by Picasa

I hope you like these cards. This technique of random stamping can be used with lots of stampsets, not just snowflakes so why don't you have a go? I've got some really cute Santa tags to show you next time, made with punches and then I guess it will be Christmas and we'll be moving on to other projects - and the new mini catalogue. Remember to check back for the Santa tags. x

Tuesday, 20 December 2011

Polar Party Cards - at last!

Hi everyone, I know, I'm rubbish at blogging. I keep promising things and then it takes ages for me to do it. No excuses, but here, at long last are the photos from the last card class. We used the Polar Party stampset and I just love it. This stampset has cute images which you can combine to make your own little scenes as I did for the penguin card:

The photos aren't great as light is hard to come by at the moment (!) but I'll show you lots of photos so you get the idea. The images were stamped with Stazon ink and then coloured using the ink pads and blender pens. I have to confess to finding colouring images on Whisper White cardstock quite hard, but the blender pens solved all my problems. To do this you can either scribble a marker pen onto a plate or other hard surface or you can squeeze the ink pad while still closed, so it picks up some of the ink in the lid. You then use the blender pen to pick up the ink and colour. You can make the colour as light or dark as you want, so it's great for shading. Here are a couple of close ups:


There is a bit of glitter on these cards but the camera just didn't pick it up. Here is each card on it's own with the details below it:


All cards used Indigo Island as the base card colour. I then used Tangerine Tango paper from the Designer paper stack, layered onto Tangerine Tango card and some orange ribbon that I already had in my stash.


For the tree image I used Old Olive paper and Old Olive card. I didn't have any Old Olive ribbon so I used Pear Pizazz seam binding, which actually worked just as well.


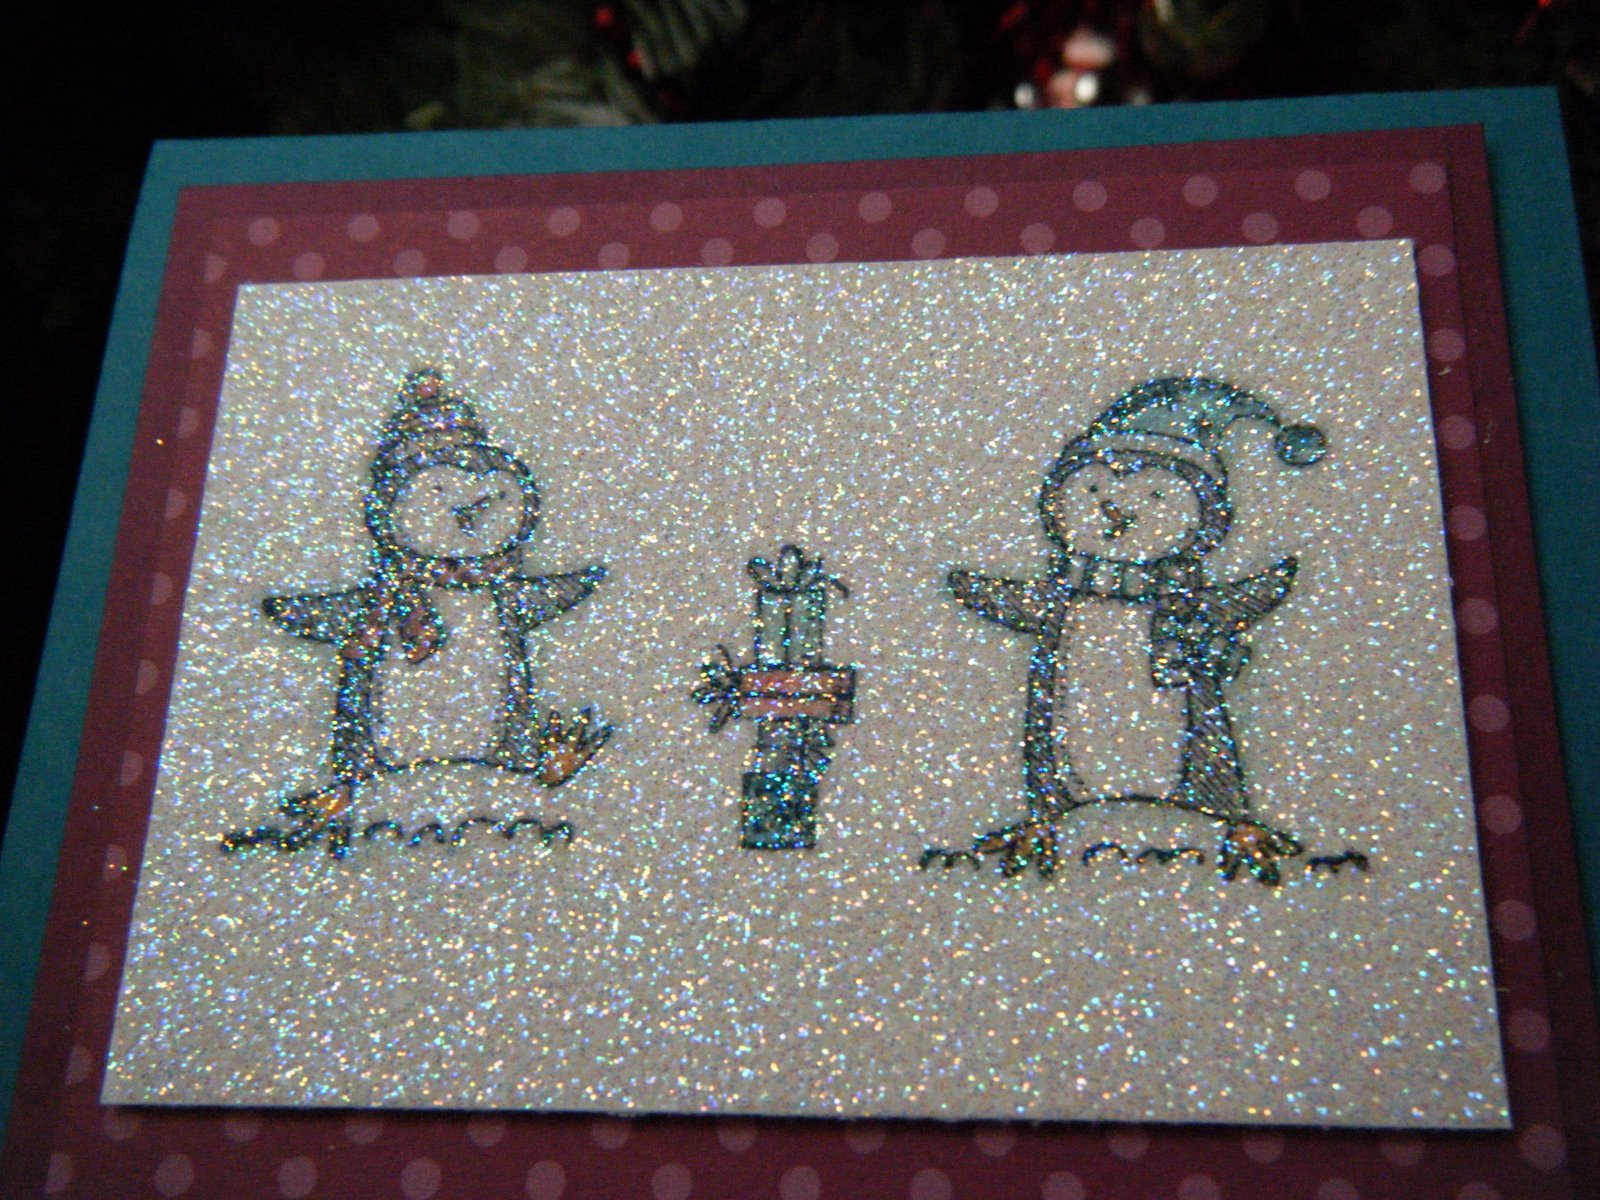
The penguins were combined with Rich Razzleberry card and paper. Again, The ribbon was some that I had in my stash.
The greeting for all the cards is part of the polar party stampset.
Finally, I wanted to have a go at something I had seen on Monica Gales' blog. She covered a coloured image with Versamark ink and then with Heat 'n Stick powder. You melt the powder, using a heat gun and then cover the whole image with Dazzling Diamonds glitter. Heat it again and you end up with a fabulous glittered panel but the glitter does not come off as it has been 'heat set'.
I (foolishly) showed the ladies in my class the final result and ofcourse they all wanted to do this then. Much, much glitter later - all over us and the dining room, they all had beautiful, glittered cards and all were amazed at the results.


You really cannot get the full effect in a photo. It sparkles in beautiful colours in real life but hopefully you're getting some idea. If you fancy having a go, let me know. I can arrange a home workshop and demonstrate the technique. If you want to buy any of the products, just get in touch. You can make these cards for next year (it's probably a bit late for this year), and amaze all your family and friends.
I will be back with some more Christmas ideas before Christmas, so keep looking. x


Posted by Picasa