Showing posts with label Modern label punch. Show all posts

Sunday, 14 October 2012

A Cup of thanks

Hi everyone, this is the second card of  the Tea Shoppe card class. I love this colour combination of  Summer Starfruit, Elegant Eggplant and Baja Breeze. Here is what we made:


I used my Stamp-A-Jig to stack the tea cups and the Itty Bitty Shapes Punch Pack to make some flowers:


We created another tiny 'fork' bow in Baja Breeze seam binding and punched the greeting using the Modern Label punch pack.

 
 The edging was created using the Eyelet Border punch which has unfortunately been discontinued. The background paper is from the Patio Party designer papers. I hope you like this card. The last project is a little gift so check back soon for the details. x 

Wednesday, 26 September 2012

Christmas Stamp-A-Stack 2

 Hi everyone, here's the second card we made in card class:


This one had Natural Ivory as the background (it's a bit sturdier then Very Vanilla and good for a base card) and Cherry Cobbler. We used one of my favourite Christmas stamps, Dasher, which is sadly being discontinued but there is something similar coming your way (hint, hint). Here's a close up of the rhinestones in the antlers:
 
 
The Designer Series Paper is called 'Be of Good Cheer' which has this lovely Cherry Cobbler snowflake paper. The sentiment is from Teeny Tiny wishes, punched with the world window punch and the Modern Label punch:
 
 
Check back for more soon. x


Friday, 17 August 2012

Reason to Smile 3

Good morning everyone. This is the last card using this particular flower stamp from the set. There are other flower stamps so I'll show you them later. This card was made using Rose Red card stock: 


This time I only stamped the flower with the solid image. Like this:


I used Perfect Plum as the contrast colour (although it looks different in the photo) I cut the greeting frame using the Lots of Tags dies and the Big Shot. I used the Modern Label punch to cut the Whisper White label. The greeting was stamped using the Petite Pairs stamp set.


Again this photo shows how everything matches beautifully. The ink and brads are both in Rose Red. I hope you have great day. x
Posted by Picasa

Wednesday, 6 June 2012

Anchor card

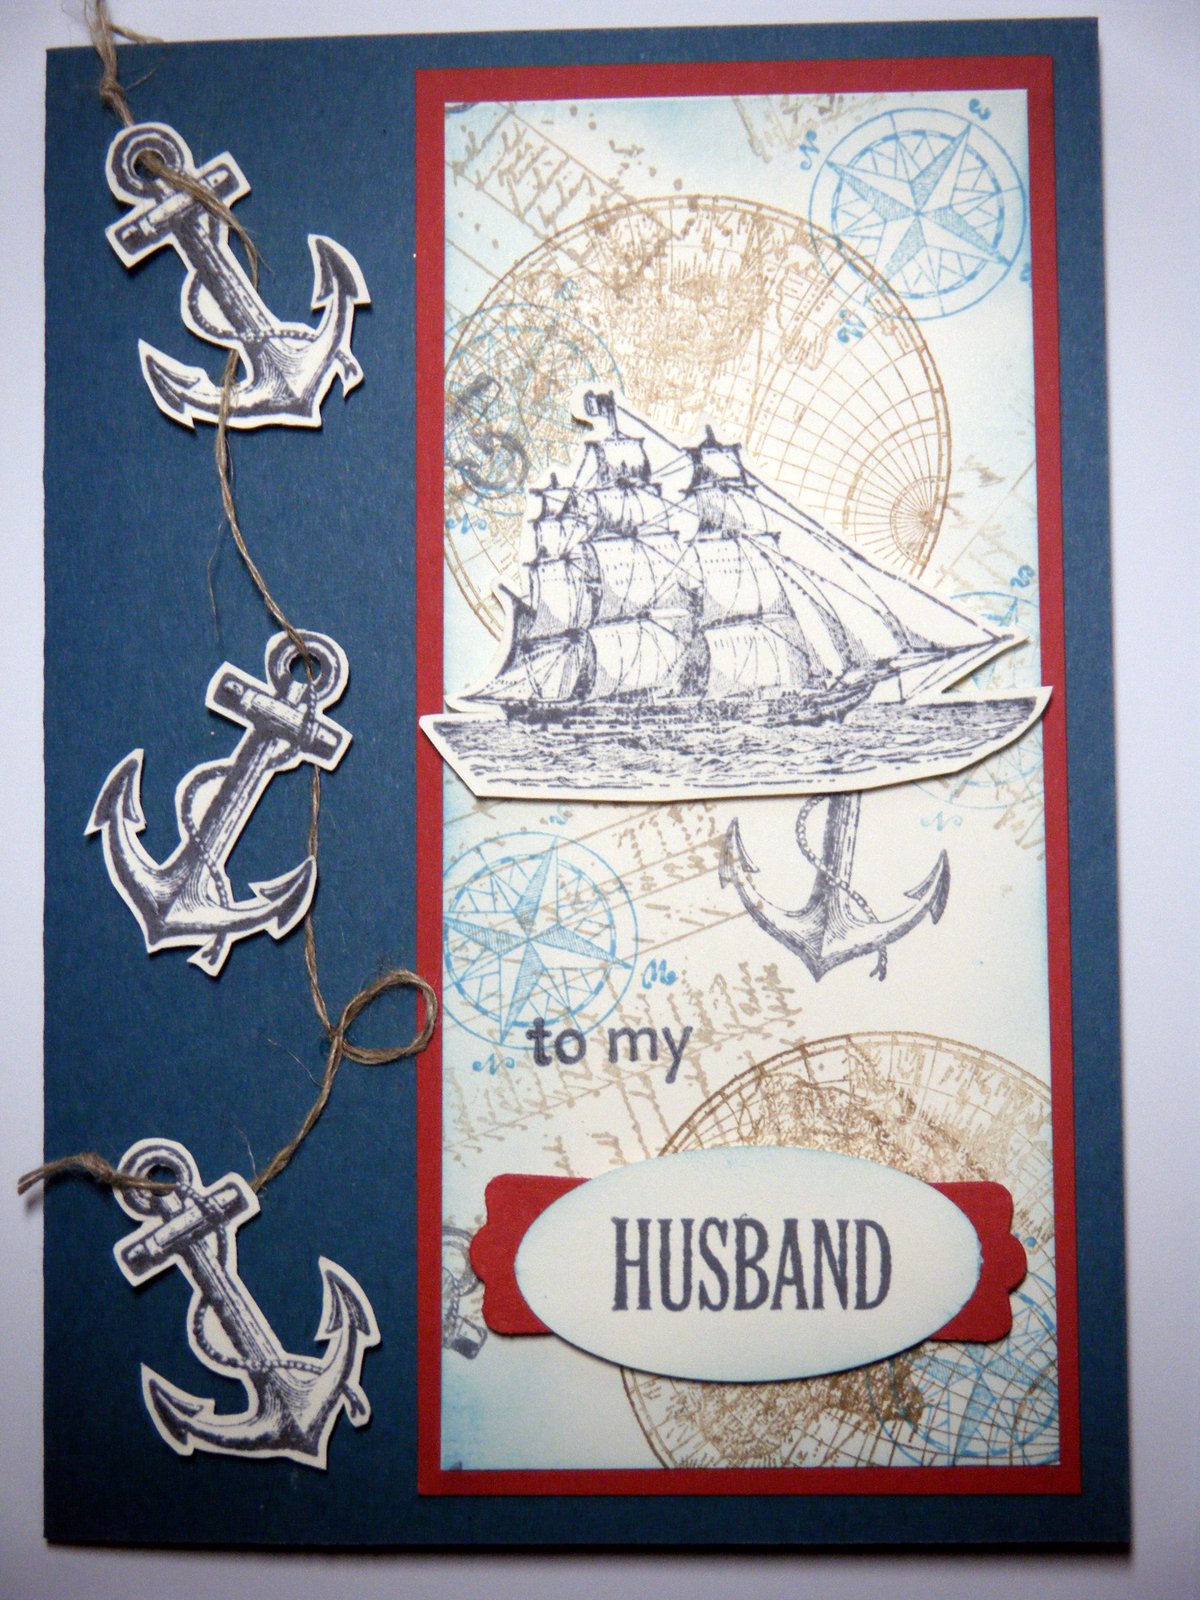
Here's the second of the Masculine cards we made last week. It uses the same colour scheme of Not Quite Navy and Riding Hood Red. This was a smaller A6 card:


Again we have used a piece of the One Sheet Wonder to create the background panel. I stamped 3 anchors and the ship in basic grey and cut them all out. Sadly there are no matching punches for these but I quite enjoy a bit of hand cutting:


I used Linen thread to tie the anchors together. For my Husband was stamped using the For My Family stamp set again. I stamped 'husband' on to a Large Oval and popped that onto a label punched with the Modern Label punch:

 If you would like to buy any of these products, then please get in touch. Next time I'll show you the notebook we made as a small gift. x

Monday, 14 May 2012

Aviary Class May 16th

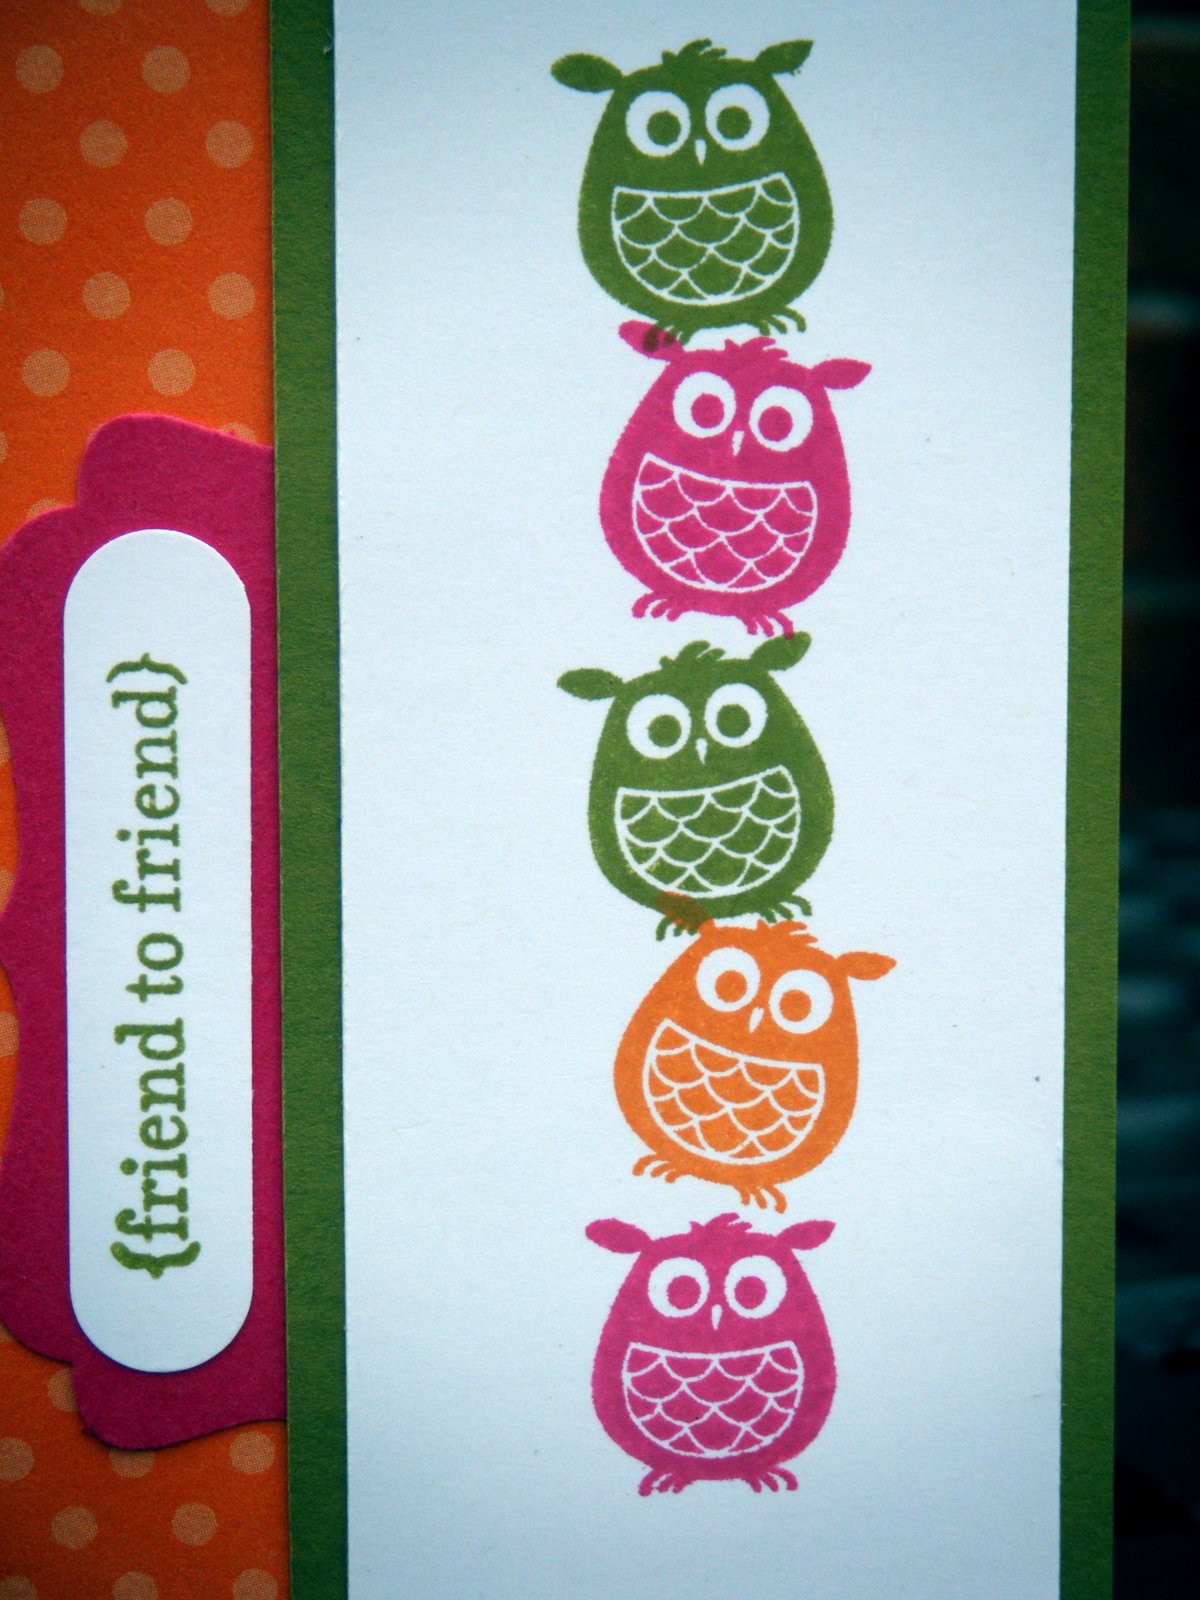
Hi everyone, here's a sneak preview of the Aviary Class which will be held on the 16th May, 7.00-9.30pm at my house:


We'll be making these lovely bright cards, not at all my usual colour scheme but I really enjoyed making these samples.

I won't keep you waiting to see all of these cards in more detail so here's the owl card:


I used Melon Mambo, Old Olive and Pumpkin Pie. The little owl is one of the stamps from the Aviary stamp set. I used the clear set so managed to stamp one owl on top of the other without using the stamp-a-ma-jig, although this is still my favourite tool.

The greeting is from the Teeny Tiny Wishes stamp set. This set is so useful as it contains just about every greeting you can think of and they fit the Word Window punch. The label is punched using the Modern Label punch. Here's a closer look:


If you fancy making this card, and the others, then it's not too late to book your place. Just contact me on 07970 708348. Check back soon for the others in close up. x


Thursday, 12 April 2012

Popcorn anyone?

Although you've seen the preview I haven't shared the cards we made in our last card class yet, so here's the popcorn card. This is my favourite purely because I think it's such a clever use of punches. I would never have thought of this but saw it on Jules Japes and have pretty much just copied it, except for the colours:


We used Real Red as the base card and cut a strip of card from Basic Black, and punched squares of Whisper White, using the 1 1/4" square punch. The popcorn containers were stamped in Real Red ink and punched using the Cupcake Builder punch. The popcorn was punched using the flower shape from the Itty Bitty punch pack. We punched them out of Very Vanilla and inked the edges using Daffodil Delight and the Sponge Daubers. Here's a close up:


The 'Happy Birthday' sentiment stamp is part of the Create A Cupcake stamp set. It was stamped and punched using the Word Window punch, with the Modern Label punched in Basic Black behind it. Hope this shows you how versatile the cupcake stamp set and punch can be. They are only available till end April so if you like them, don't delay ordering them and contact me. More cupcakes next time. x

Thursday, 23 February 2012

The first two Sale-A-Bration cards

Hi everyone, as you know we were making a card with every Sale-A-Bration stamp set at class this week. I know you've had a sneaky peek but here are the first 2 cards in detail. Here's the first one using the Fresh Vintage stamp set:


I am trying to use some different colours combinations so for this card I used Cajun Craze and More Mustard with Very Vanilla. I used Cajun Craze ink and my favourite Dotted Scallop Ribbon Border punch. The sentiment was punched using the Word Window punch and the Modern Label punch. A strip of designer paper completed the card. As you can see all the colours and papers coordinated beautifully, taking all the hassle out of card making. Here's a bit of a close up. Sorry it's on its side:


Now for the second card. This one uses the Sprinkled Expressions stamp set:


This time I used a white card with Melon Mambo and Concord Crush. I stamped the flower and sentiment in Melon Mambo ink and used the scalop circle punch with the 1 1/4" and 1 3/8" circle punches to create the sentiment flower. One of the flowers from the Itty Bitty Shapes Punch pack was used to create the 3 small flowers, finished with a rhinestone in the centres.

Here's the close up:


These stamp sets are extremely versatile and yours FREE with a £45 order. Give me a ring if you want to place an order. x

Thursday, 16 February 2012

Get well Mum

My mum is having an eye operation next week, so I've made her a Get Well card in advance. My mum loves birds and I have just treated myself to the Aviary stamp set. This set is great!!. You can just play about and have birds in the cages, out of the cages, it's a lot of fun. The Nursery Nest Designer Papers also match the set, although I haven't used them in this card:
I used Pool Party, Soft Suede and Whisper White for my colour scheme and I love how it turned out:


I used a bit of bling on the cages and the Scallop Ribbon Border punch to create a Soft Suede edge to the Pool Party Ruffled Ribbon. I then used one of the Lots Of Tags dies in the Big Shot to cut the tag out of Pool Party and punched a Modern Label shape in Soft Suede. The Get Well sentiment is from Teeny Tiny Wishes. 

The stamp set has a gorgeous little owl image which I just had to use but it didn't really suit the card front - so I used it on the inside of the card. The inside sentiment is from the Sincere Salutations stamp set:

Oops, I've just noticed that I haven't rubbed out the pencil line yet. I used my Stamp-A-Ma-Jig to position my owls in a perfect line. It makes this sort of thing very easy. I hope you like this card. I enjoyed making this card so much, I also made a birthday card using the Aviary set. Check back soon for details. x 

Posted by Picasa

Tuesday, 14 February 2012

Happy Valentine's Day

Oh dear. Valentine's Day is nearly over and I'm only just posting this. I was planning to do it this morning but I didn't get a minute. Here is the card I made for my husband:

I saw something similar on the internet ages ago but can't remember who made it, so I can't give any credit. This card was made in Cherry Cobbler and Whisper White cardstock. I punched out lots of leaves, using the Bird Builder punch and then drew a heart shape on my card, after I had put it through the Big Shot with the Vintage Wallpaper embossing folder. I then stuck the leaves down, following the heart outline:


I punched 2 birds from Whisper White and very lightly inked the edges with Crumb Cake ink - just enough to make them stand out a bit. I then stamped the sentiment using my new For my Family stamp set. This contains lots of great words which you can use to personalise any card. The sentiment was punched out using the Modern Label punch:

Naturally the card wouldn't have been complete without a reference to Valentine's Day so I used the Valentine's sentiment from the You Are Loved stampset and stamped it on the inside of the card:

Posted by Picasa
I hope you like this card. It could be used for all sorts of occassions, including weddings and the colours could be matched to anniversaries, bridesmaids dresses etc. Remember, if you would like to buy any of the products, just give me a ring. x

Thursday, 1 December 2011

Doilies class round-up

I know I've shown you some of these cards before but here, for the final time, is what we actually made in card class. Everyone worked really hard and managed to complete three A5 cards and three 3"x3" cards. Sometimes a little cute card is all you need.  These are the A5 cards:

We used Pool Party and Wisteria Wonder cardstock and inks, plus Whisper White. We used the Delicate Doilies stamp set and the Curly Cute stamp set for the greetings. (except for the 'celebrate' which is from a discontinued set). We also used the Perfect Pennants die and the Big Shot to make the lovely lacey circles in the middle of these cards. Some of the new, gorgeous, ruffled ribbon in Pool Party completed the look. The other punches we used were the Doily Triple Layer punch (this is like having 3 punches in 1), the 1 3/4" circle punch and the Modern label punch. Here are the small cards which you have seen before:

The next card class is on the 7th december, 7.00-9.30pm at my house. We will be making christmas cards and the cutest little Santa gift box. Sneak peaks will follow soon. If you would like to join us, please email or phone me. Have a good day. x


Thursday, 8 September 2011

Happy Anniversary

It was my wedding anniversary yesterday but generally we don't take these things too seriously, so I didn't bother making a card until the morning, when I had 15 mins before going to work! I did think of just buying one but just couldn't bring myself to do it.

I has seen several examples of this card on various blogs and decided it was just the thing. Here it is:


I used the Designer Paper Stacks in various shades of  red and pink and punched them out using the Modern Label punch. I folded them in half and stamped the letters using the Just Perfect Alphabet. I then used the Timeless Type Junior Alphabet dies and the Big Shot to cut the letters 'I' and 'U'. The sentiment is from the Something to Celebrate hostess set - remember you only have till the end of September to have a party to earn this set. After that, it will not be seen again, so if you want it, contact me ASAP to book your party. The base for the card is in Crumb Cake.


Now if you think I'm bad, you should talk to my husband. As I said we don't take this too seriously so when he phoned from the supermarket saying "do you know how much cards are?!!" I told him I would much rather have £5 towards a stamp, than a card I will throw away.  (He'd already bought me some crafting supplies).

When I got home from work, there were lots of flowers and a handmade envelope. Inside was a card he had 'adapted'. He had found the birthday card he'd given me in July and altered it to be an anniversary card. He'd found a border punch and punched some white card which he used to cover the 'Happy Birthday' and then used the same stamp as I had used for the sentiment. (It was still on my desk). He drew a heart and glittered it and stuck a sheet of paper over the inside and stamped the sentiment again. This is the result:


Not bad for a novice eh? I think it's much better than any bought card and I get a new stamp:) Anyway, enough of my ramblings. Remember to contact me if you want anything from the retired list or mini catalogue. Not long now till you get to see the new one.... x