Showing posts with label Itty Bitty Shapes punch pack. Show all posts

Thursday, 12 June 2014

Hardwood Banner Blues

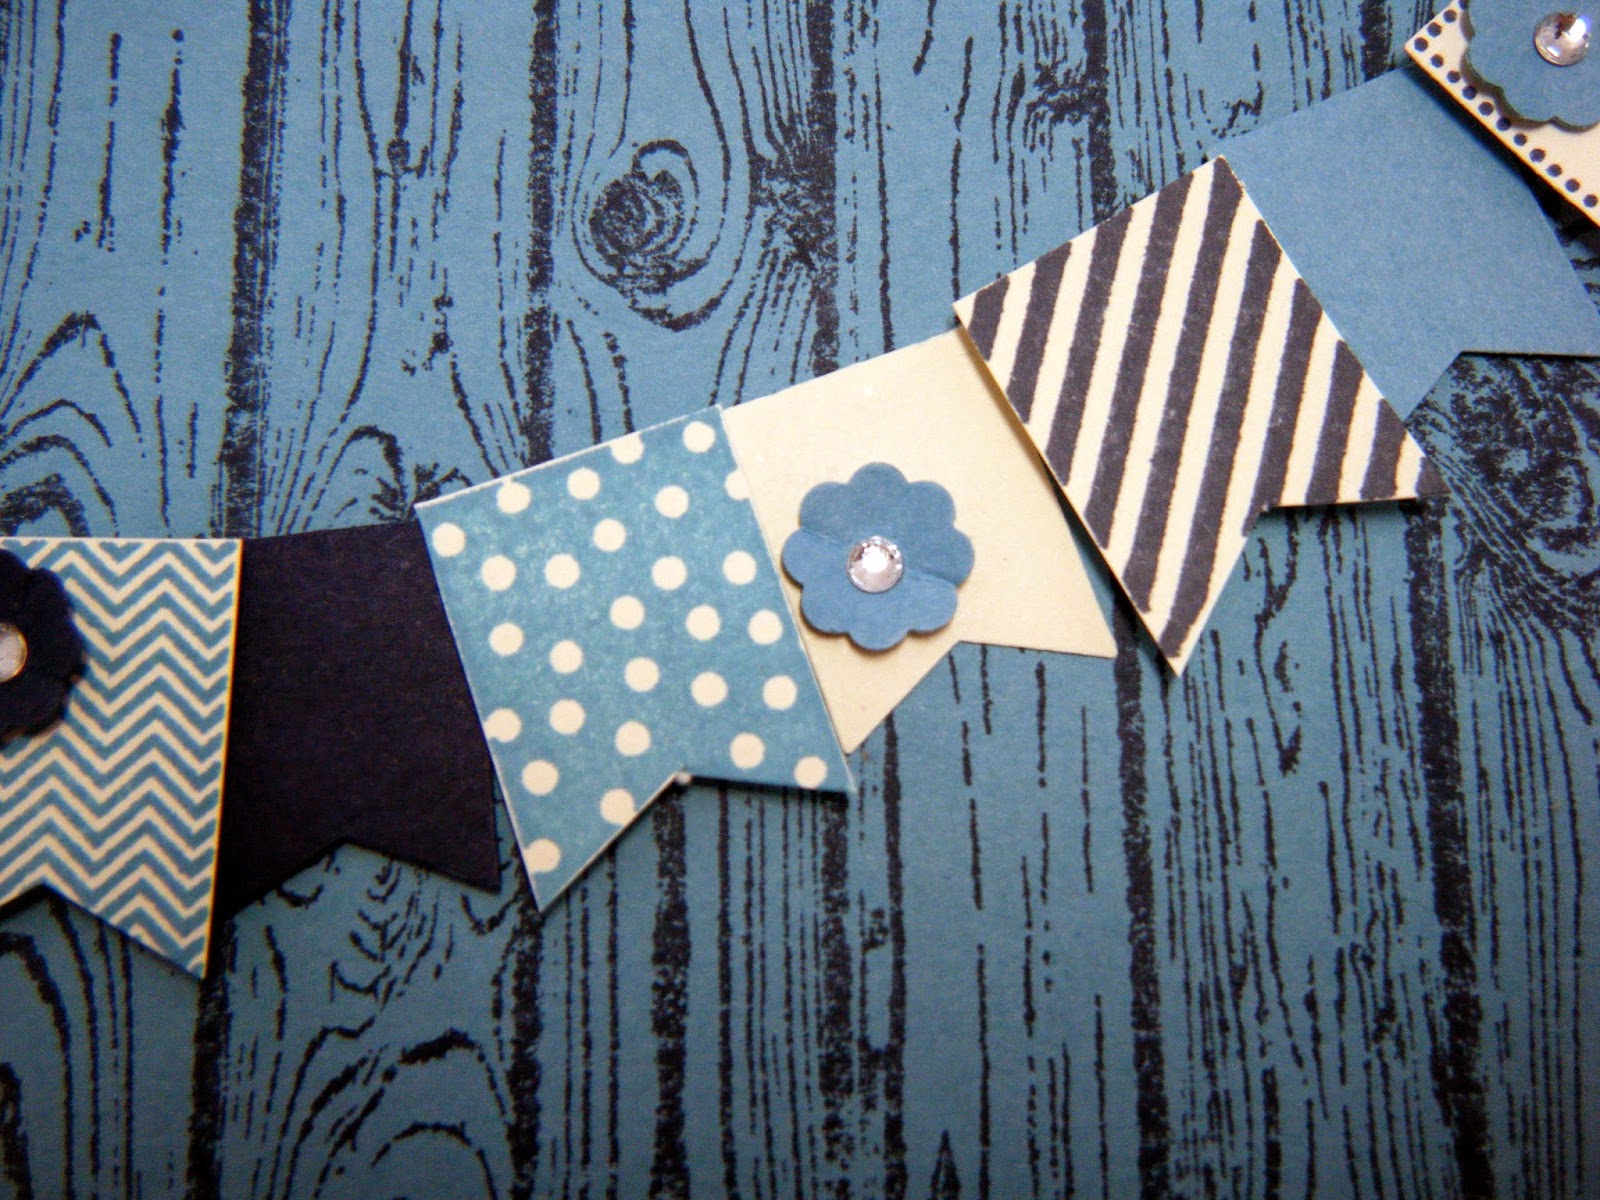
Hi everyone, in our last class we used the Hardwood background stamp. I wasn't sure about this stamp until I saw all the wonderful cards various people had made with it. Now I love it and the class was very popular. 

This is the first card I'm going to show you:


The banner stamp set was one of the Sale-A-Bration sets this year (yes, I know - I'm a bit slow getting round to using it). Luckily the matching punch is still available and you could achieve the same results using patterned papers:


The Hardwood stamp was stamped in Night of Navy ink onto Marina Mist cardstock. The base card is Night of Navy. The sentiment is from Label Love and was punched using the matching Artisan Label punch. The Night of Navy Label was cut using one of the Apothecary Accents Framelits and this is my new favourite ways to put together a greeting:


I love this card and it can be used for so many occasions and would also make a great card for men. Hope you like it too. xx

Monday, 14 April 2014

Easter card

Hi everyone. This is the Easter card we made in our Easter class. for some reason this photo has turned out very 'blue' so apologies.


There was very little stamping on this card. We used the Petite Petals punch to make the flowers and one of the Itty Bitty Punch Pack flowers to make the centres. The Little Leaves Sizzlets die was used for, guess what, the leaves. The oval was embossed using the one of the Designer Frames embossing folders. Here's a close up:


And a close up of the bow:


All the products can be found in my on-line store here. I'll be back soon to show you the other products we made. x

Sunday, 23 February 2014

Celebration Card

Here's a bright, clean card for you today. I used the Fresh Prints Designer Series Paper Stack. I love these papers as they are so clean looking with great colours.


The tag was cut using the Chalk Talk Framelits and Coastal Cabana card. The bow was made using Crum Cake Seam Binding and the flowers were punches using the Boho Blossoms punch and the small flower from the Itty Bitty Shapes Punch Pack.

 
Here's a Valentine's version of the same card:
 
 
This uses the the small and large heart punches.
 
 
Hope you like them both. xx

Saturday, 3 November 2012

Diary class, matching card

Good morning everyone, as promised here is the matching card to go with the diary and box we made in card class:


And here's the close up:


And here are all three projects together.


The photos weren't very good, now it gets dark so early, so here's another one:


If you want to buy any of the products needed to make these projects, please contact me. I'll be back soon with more. x

Thursday, 1 November 2012

2013 Diary and box class

Hi everyone, this is what we made in card class this week. We altered a diary and made a matching box so you can give it as a present. To complete the set, we also made a matching card. Here are the diary and box:


We used the Twitterpated Designer Series papers and I designed everything else around those papers, choosing to use Indigo Island as a my main colour with a bit of Riding Hood Red. This is the front of the box:


The sentiment stamp has been discontinued but it's one of my all time favourites so I'm not quite ready to let it go yet. The butterfly is from the Creative Elements stamp set and the label outline and number stamps are from the extremely versatile Memorable Moments stamp set. As you can see the stamp matches the Framelits Labels Collection:


Because I use my diary all the time at work and it's in and out of my bag all day long, I wanted to keep everything very flat. That isn't the case for the box so I was able to put the butterflies on 3D pads to give them some depth. The flowers on the diary were punched using the Itty Bitty Shapes Punch Pack and the leaves were cut using the Little Leaves Sizzlets and Big Shot.


Here's another look at the diary:


And the matching box:


I hope you liked these. I'll show you the matching card next time. x
 

Sunday, 14 October 2012

A Cup of thanks

Hi everyone, this is the second card of  the Tea Shoppe card class. I love this colour combination of  Summer Starfruit, Elegant Eggplant and Baja Breeze. Here is what we made:


I used my Stamp-A-Jig to stack the tea cups and the Itty Bitty Shapes Punch Pack to make some flowers:


We created another tiny 'fork' bow in Baja Breeze seam binding and punched the greeting using the Modern Label punch pack.

 
 The edging was created using the Eyelet Border punch which has unfortunately been discontinued. The background paper is from the Patio Party designer papers. I hope you like this card. The last project is a little gift so check back soon for the details. x 

Friday, 12 October 2012

Stay for Tea

Hi everyone, this is one of the cards we made on Wednesday. It uses the lovely Tea Shoppe stamp set which has now become a real favourite of mine:

 
Each tea cup was stamped in a different colour of pink - Primrose Petals, Raspberry Ripple, and Regal Rose. As you can see these colour all matched beautifully.
 

Each cup square was punched using the 1 3/8" square punch and then mounted on a slightly larger square of the matching colour. We punched some flowers using the Itty Bitty Shapes Punch Pack and made tiny little bows using Rose Red seam binding and a fork. If you want to know how to do this, just google it. It worked like a treat and the bows were sooo cute: 

I hope you like this card. Let me know if you want to buy the stamp set. x
 
Posted by Picasa

Monday, 28 May 2012

Aviary (3) - Three bird cages

Hi everyone, here's the last card from the Aviary card class: 
 

The cages were stamped in Basic Grey ink and the colour scheme was Pumpkin Pie, Old Olive and Melon Mambo. The flowers were punched using the flower punch from the Itty Bitty punch pack:

Here's a close up of the flowers. The green edge has been punched with the scallop border punch:

I stamped the inside of the card too, with a row of birds. This is a terrible photo but you get the gist (I hope). Right, you've seen all the cards from card class now, hopefully you've enjoyed them. The next  card class has a masculine theme and takes place on Wednesday 30th. Let me know if you fancy joining us. x
 
Posted by Picasa

Thursday, 23 February 2012

The first two Sale-A-Bration cards

Hi everyone, as you know we were making a card with every Sale-A-Bration stamp set at class this week. I know you've had a sneaky peek but here are the first 2 cards in detail. Here's the first one using the Fresh Vintage stamp set:


I am trying to use some different colours combinations so for this card I used Cajun Craze and More Mustard with Very Vanilla. I used Cajun Craze ink and my favourite Dotted Scallop Ribbon Border punch. The sentiment was punched using the Word Window punch and the Modern Label punch. A strip of designer paper completed the card. As you can see all the colours and papers coordinated beautifully, taking all the hassle out of card making. Here's a bit of a close up. Sorry it's on its side:


Now for the second card. This one uses the Sprinkled Expressions stamp set:


This time I used a white card with Melon Mambo and Concord Crush. I stamped the flower and sentiment in Melon Mambo ink and used the scalop circle punch with the 1 1/4" and 1 3/8" circle punches to create the sentiment flower. One of the flowers from the Itty Bitty Shapes Punch pack was used to create the 3 small flowers, finished with a rhinestone in the centres.

Here's the close up:


These stamp sets are extremely versatile and yours FREE with a £45 order. Give me a ring if you want to place an order. x

Wednesday, 8 February 2012

SAB to see you go

Hi everyone, today I'm showing you a card I made for work, as a colleague was leaving our team. I've used Calypso Coral for the base card again (seems to be becoming a favourite). I also couldn't wait to play with the Sale-A-Bration FREE papers - Everyday Enchantment, so have used them for this card:


I cut the flag 'freehand' using my trimmer and die cut the letters using the Big Shot and the Timeless Type Junior Alphabet. I was trying to think what word I could use on the flags. Thought of saying 'Goodbye' but it was a bit long, thought of 'Leaving' but it's the same number of letters so ended up with 'Miss U', which I quite like. The sentiment at the bottom has been printed on the computer.

The flower on the flag was created using the Boho Blossom punch and the little flowers in between the flags are punched using one the punches from the Itty Bitty Punch Pack. I used some of the other In Colours that match the papers to create these - Pool Party, Lucky Limeade and ofcourse, Calypso Coral.


Finally, I stamped the inside using the matching FREE Sale-A-Bration set Fresh Vintage, to create a border in Calypso Coral ink. By the way, the paper the card is lying on is one of the sheets from the FREE  Everyday Enchantment designer paper set.

 
I hope she likes this. Check back soon for more. x
Posted by Picasa

Sunday, 23 October 2011

Last of the Pennant Parade cards

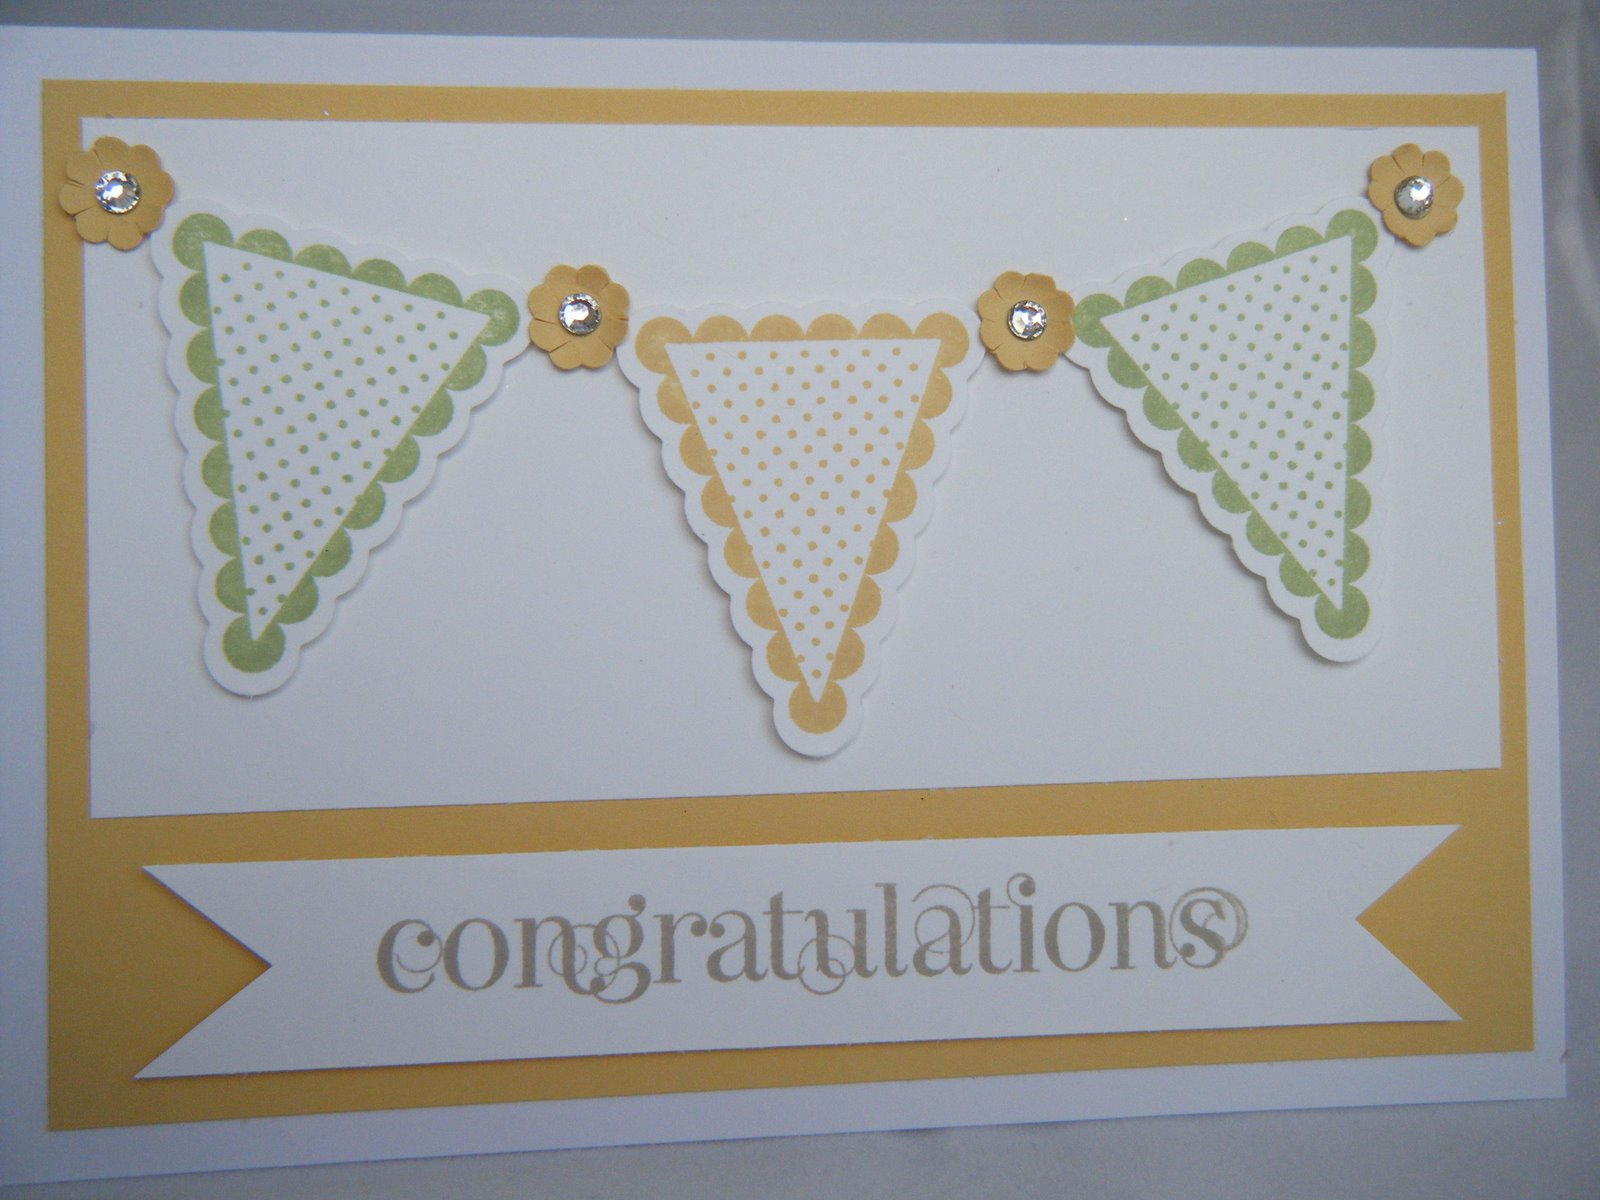
Good evening everyone. I thought I would show you the last of the Pennant Parade cards which we made in card class. So much has happened since then, I'd almost forgotten about these. This is my favourite of the set. I made it as a congratulations card but it's also lovely as a baby card.


We used So Saffron and Whisper White card and So Saffron and Certain Celery ink. The Pennant punch was used to punch the shapes and one of the Itty Bitty Punches for the small flowers.

A rhinestone sparkly in the middle of each flower and a sentiment from the Curly Cute stamp set completed the card.


Posted by PicasaAnd finally, the Icecream Cone card:


For this card we used Pretty in Pink cut with the Scallop Circle die using the Big Shot. We then embossed it with the Polka Dot embossing folder. The icecream cone was stamped using the Pennant Parade stampset and Daffodil Delight ink and punched out using the Pennant Punch. The icecream scoops were cut using the scallop circle punch and scraps of designer paper.


The little 'star' stamped for the background is part of the Pennant Parade stamp set. Once again the sentiment is from Curly Cute. I love this set and use it all the time, as you can tell.
I hope these cards have shown you how versatile this set is. Let me know if you want to order anything. x

Wednesday, 12 October 2011

Sail Away, Pennant Card

Hi everyone, many apologies for not blogging for a while. Everything seems to be crazy busy at the moment. As you know, I've been promising you sneak previews of the Pennant Parade Card Class for ages. Well, unfortunately, because Stampin' Up! is so busy at this time of year, due to the new catalogue launch, the order took longer to arrive then I had anticipated. This means that the card class is tonight and I was still making samples late last night as my order did not arrive until 8pm on monday. (lesson learnt for next year)

So, instead of giving you sneak previews, over the next week I'm going to show you the cards we will be making tonight. I'll show you each card in detail and if you fancy making them, contact me to order your supplies. These cards will be on display at my launch party which I'm holding this Saturday 15th, 10.30-12.30, so if you fancy coming along and having a go yourself, contact me on 07970 708348.

Here is the first card made with the Pennant Parade stamp set and matching Petite Pennants Builder punch . It's hard to tell, as the stamping quality is so good when you use Stampin' Up! papers, but the sails were stamped using the stamp set and then punched out, using the Petite Pennants Builder punch.


To make this card, cut some clouds out of Pool Party (new in-colour for 2011-2013) and stick them onto Whisper White. Run this through the Big Shot using the Square Lattice Embossing folder and fix to a Chocolate Chip card base. Then use the 1 3/8"  circle punch to create the waves in Pool Party. I have inked the edges with Pool Party ink.

Use the extra large oval punch and Chocolate Chip card stock to make the boat. I embossed some lines it on it to make it look like 'planks'. Cut the top bit off to create a boat shape and use a little bit of Chocolate Chip for the mast. Stamp your sails onto Whisper White, I used Calypso Coral and Lucky Limeade ink - both are new In-Colours and then punch them out.
Posted by PicasaThis photo shows you the waves a bit clearer. I finished my card off with a bit of ribbon as a flag, with a flower in Island Indigo (another new colour), punched using one the Itty Bitty Shapes Punch Pack punches. I added a Rhinestone to the flower and stamped a birthday greeting from the Sincere Salutations stamp set.

I hope you liked this card. Back with a Christmas card using the Pennant Parade stamp set and punch later.