Showing posts with label Decorative Label punch. Show all posts

Sunday, 13 January 2013

Calendar Class Wed 16th - January

Hi everyone, well my good intentions re blogging haven't gone too well so far but here I am with news of our first class of 2013.

We will be making inserts for the Stampin Up Calendar display and in this class we'll be making January-June. Therw will be another class later in the year to amke July-December.

To give you a bit of a taste of what we'll be doing, this is January's insert:


I used the Decorative label punch to punch labels from the Patio Party designer papers and folded them in half. I used Midnight Muse for the background and printed the months from the internet onto Very Vanilla cardstock. (You can find them here)

The numbers were stamped using the Memorable Moments stamp set and punched using the 3/4 circle punch.


The 'hello' is from the My Friend stamp set. It was stamped in Versamark ink and embossed with gold embossing powder.


If you would like to join us for this class, using lots of different stamp sets and techniques, then please contact me by 6pm on Tuesday 15th Jan. Cost is £12 and this includes the calendar display case.

I'll show you the other months we've made over the next few posts. Remember that the Autumn/Winter catalogue finishes on the 31st January so if you'd like to order anything from this catalogue, don't wait too long and let me know. x

Tuesday, 25 September 2012

Christmas Stamp-A-Stack

Good morning everyone, today I'm sharing one of the cards we made in the Christmas Stamp-A-Stack card class, which was held last Wednesday. A Stamp-a-Stack is a cardmaking session where you make a number of cards and, because you make more cards, the designs are often slightly more simple. On Wednesday the ladies made 8 cards, 2 of 4 designs. Here's the first one:


For this card we used Bashful Blue and Whisper White and the Tags til Christmas stamp set. The background panel was embossed using the Polka Dot embossing folder and the sentiment was punched out using the Decorative Label punch.


The ornaments were stamped using Bashful Blue ink and punched out with the ornament punch. Some matching blue ribbons and bows completed the look:


I'll show you another card tomorrow. Don't forget to look. x 
Posted by Picasa

Monday, 11 June 2012

Happy Birthday Bike

Hi everyone, we had 2 birthdays in our family yesterday, so here's the card I made for my Father-in-Law. I used the  Pedal Presesnts stampset which is a hostess set and I love it. The bike comes with a variety of things you can put in the basket, so it can suit any occassion. For this card I've used the presents and balloons:


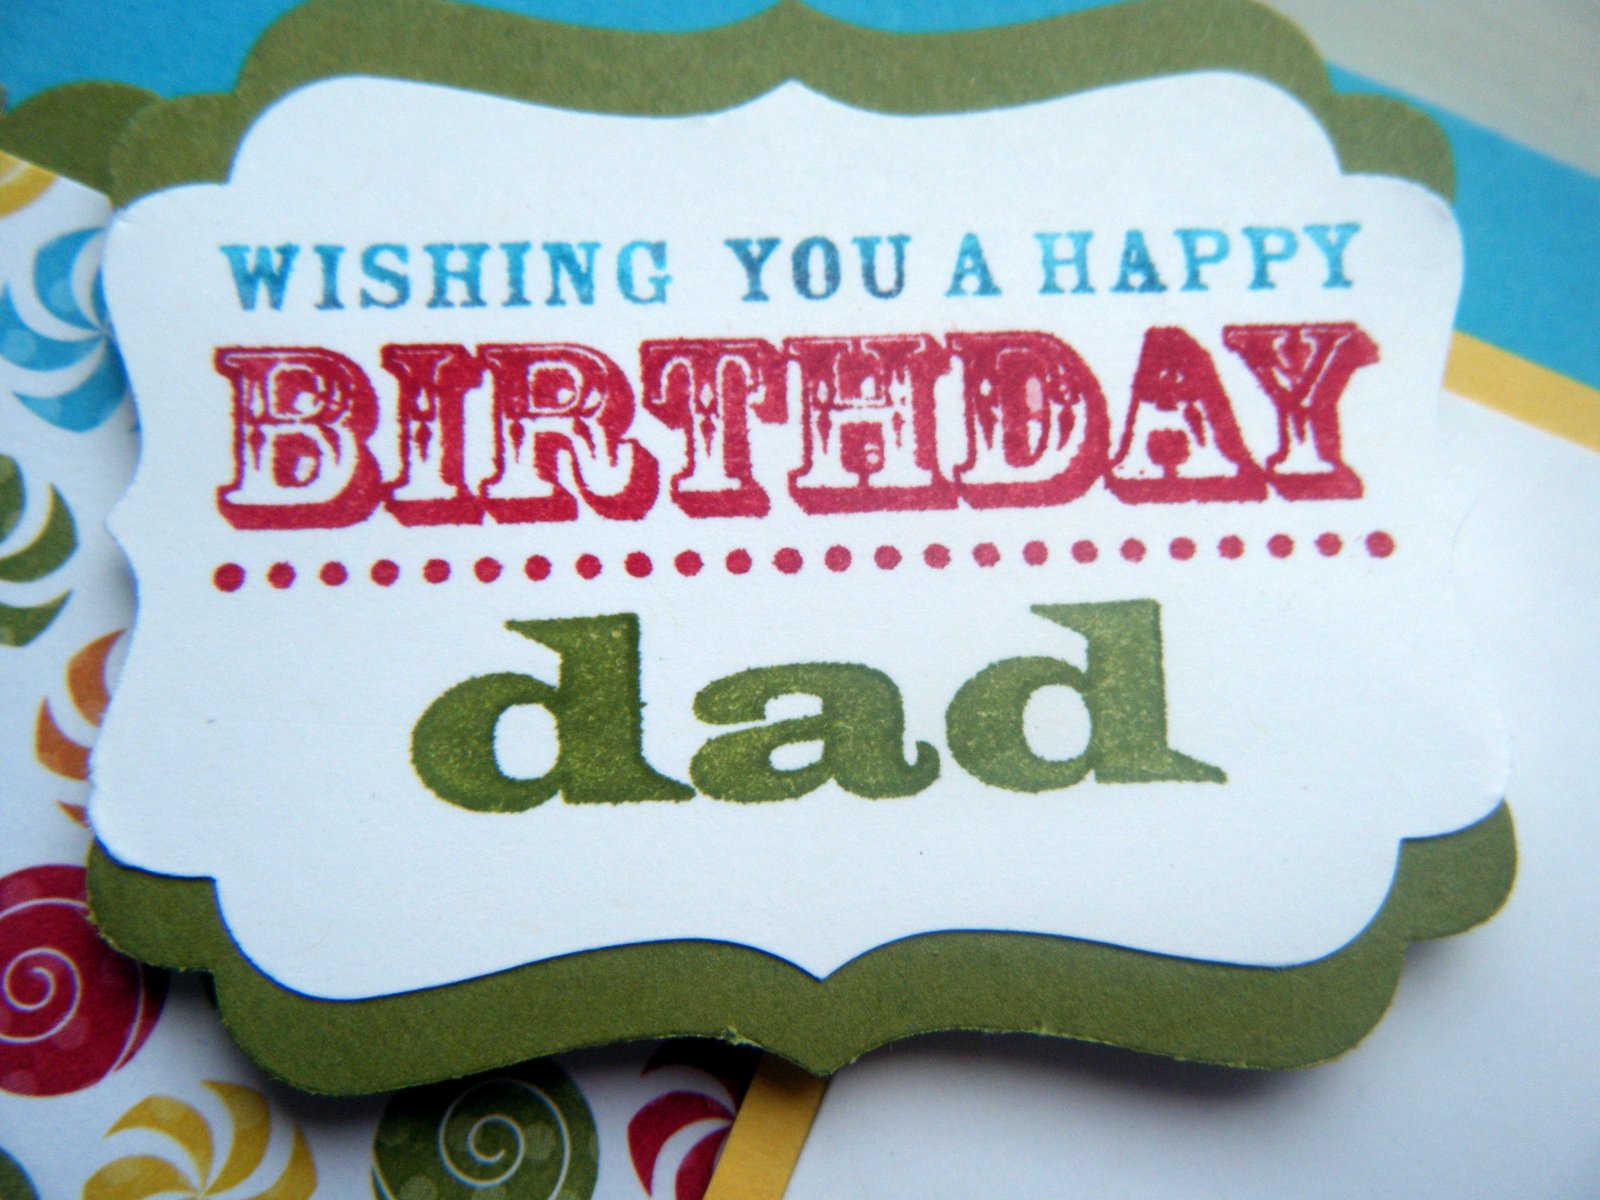
I've used another hostess set, Happiest Birthday Wishes, for the greeting and added 'dad' from the For My Family stampset. This stampset lets you personalise any greeting and I think it worked really well. I used the Decorative Label punch to cut out the greeting and then mounted it onto an Old Olive punched Decorative Label:

The card base was made out of Tempting Turquoise cardstock with a Whisper White panel mounted on a Daffodil Delight layer. I used a strip of Big Top Birthday designer paper, which has lots of bright colours in it. The edging was made with Old Olive cardstock, punched with the Scallop Edge border punch. Finally, I covered the balloons in Crystal Effects to make them lovely and shiny:

I hope you liked this card. If you fancy hosting a party to earn some of these hostess sets, please get in touch and don't forget you can earn an additional £30, during June and July. Check out my post from the 2nd June, if you missed the details. I'll be back soon with the second birthday card. x

Saturday, 28 January 2012

You are Loved - First 2 cards

Hi everyone, well it's time to show you what you can do with the gorgeous You are Loved stamp set. I'll show you 2 of the cards we made at card class, today. At first glance you may think this set is for Valentine cards only but you would be so wrong. Here is a birthday card we made with it:


The base card is Pink Pirouette with a strip of Regal Rose designer paper and a touch of Old Olive which has been punched with the Dotted Scallop Ribbon Border punch. The stamp was coloured using marker pens. This gives a multi coloured effect:

I also used marker pens to colour the flower image and then layered the flower heads. I stamped the label using Regal Rose ink and the stamped the greeting separately. I punched the label with the Decorative Label punch and the greeting with the Large Oval punch:


The next card I want to show you is a Valentine card. After all, it is nearly that time of year. Now you have to excuse the colours in these photos. Although it looks green, the strip across the Very Vanilla base card, is actually Crumb Cake:


I used the flower image to stamp the background on the Crumb Cake strip and the Dotted Scallop Ribbon Border punch to punch the Cherry Cobbler strips:


The hearts were stamped with Crumb Cake ink and then punched using the Full Heart punch. The greeting was also stamped in Crumb Cake and both the hearts and greeting were decorated with pearls. 

Check back soon as I'll show you the other 2 cards we made. Remember, if you place a £45 order, you get a FREE stamp set or papers from the Sale-A-Bration leaflet. x

Posted by Picasa

Sunday, 4 December 2011

Vintage Birthday Greetings

Good morning everyone. A birthday card from me today. I have finally got round to using my Beautiful Wings Embosslits die. I have had this die for a while but just haven't had time to use it. Now that I have though, I have fallen in love with it. This die cuts the most beautiful, dainty little butterflies and embosses them, at the same time. This die is not to be confused with the Beautiful Butterflies die, which cuts larger butterflies which can actually be used to make a card base.


I used Cherry Cobbler for my base card and First Edition speciality papers for the panel on top. These papers are great value as you get 24 sheets instead of 12, so double the amount for your money. I ran the First Edition panel through the Vintage Wallpaper embossing folder and the Big Shot, after I had inked the embossing folder with Crumb Cake ink. It is difficult to see in the picture but it makes the background of the panel a nice 'crumb cake' colour while the raised embossed pattern remains vanilla. I stamped a strip of Cherry Cobbler with the background stamp from the Creative Elements stamp set, and edged it using the Scallop Trim Border punch.

I then used the Sincere Salutations stamp set for the greeting and the Decorative Label punch to cut it out and to create the Cherry Cobbler border.

I added some Pearls and the wonderful Crumb Cake Seam binding to give it the finishing touch. Everything was sponged with either Crumb Cake or Cherry Cobbler ink to give it a bit of definition round the edges and I scrunched the ribbon to give it a 'vintage' feel.


I stamped the inside with my favourite butterfly from the Creative Elements set and used the Scallop Trim Border punch again.
I made this for a colleague at work and she was very pleased with the result. Check back soon for another card made with the Beautiful Wings Embosslits die. x

Wednesday, 30 November 2011

A Paisley Get Well

Hi everyone, I wanted to share this Get Well card with you. I made this for one of my regular card class ladies, who has been feeling under the weather recently.


I made this card using the Paisley Petal Designer papers. I love these papers. the colours are so rich and there are lots of different colours in the papers, so you can choose your own favourites for the base card and detail. There is also a matching Paisley Petals stamp set, but I haven't used it on this card.

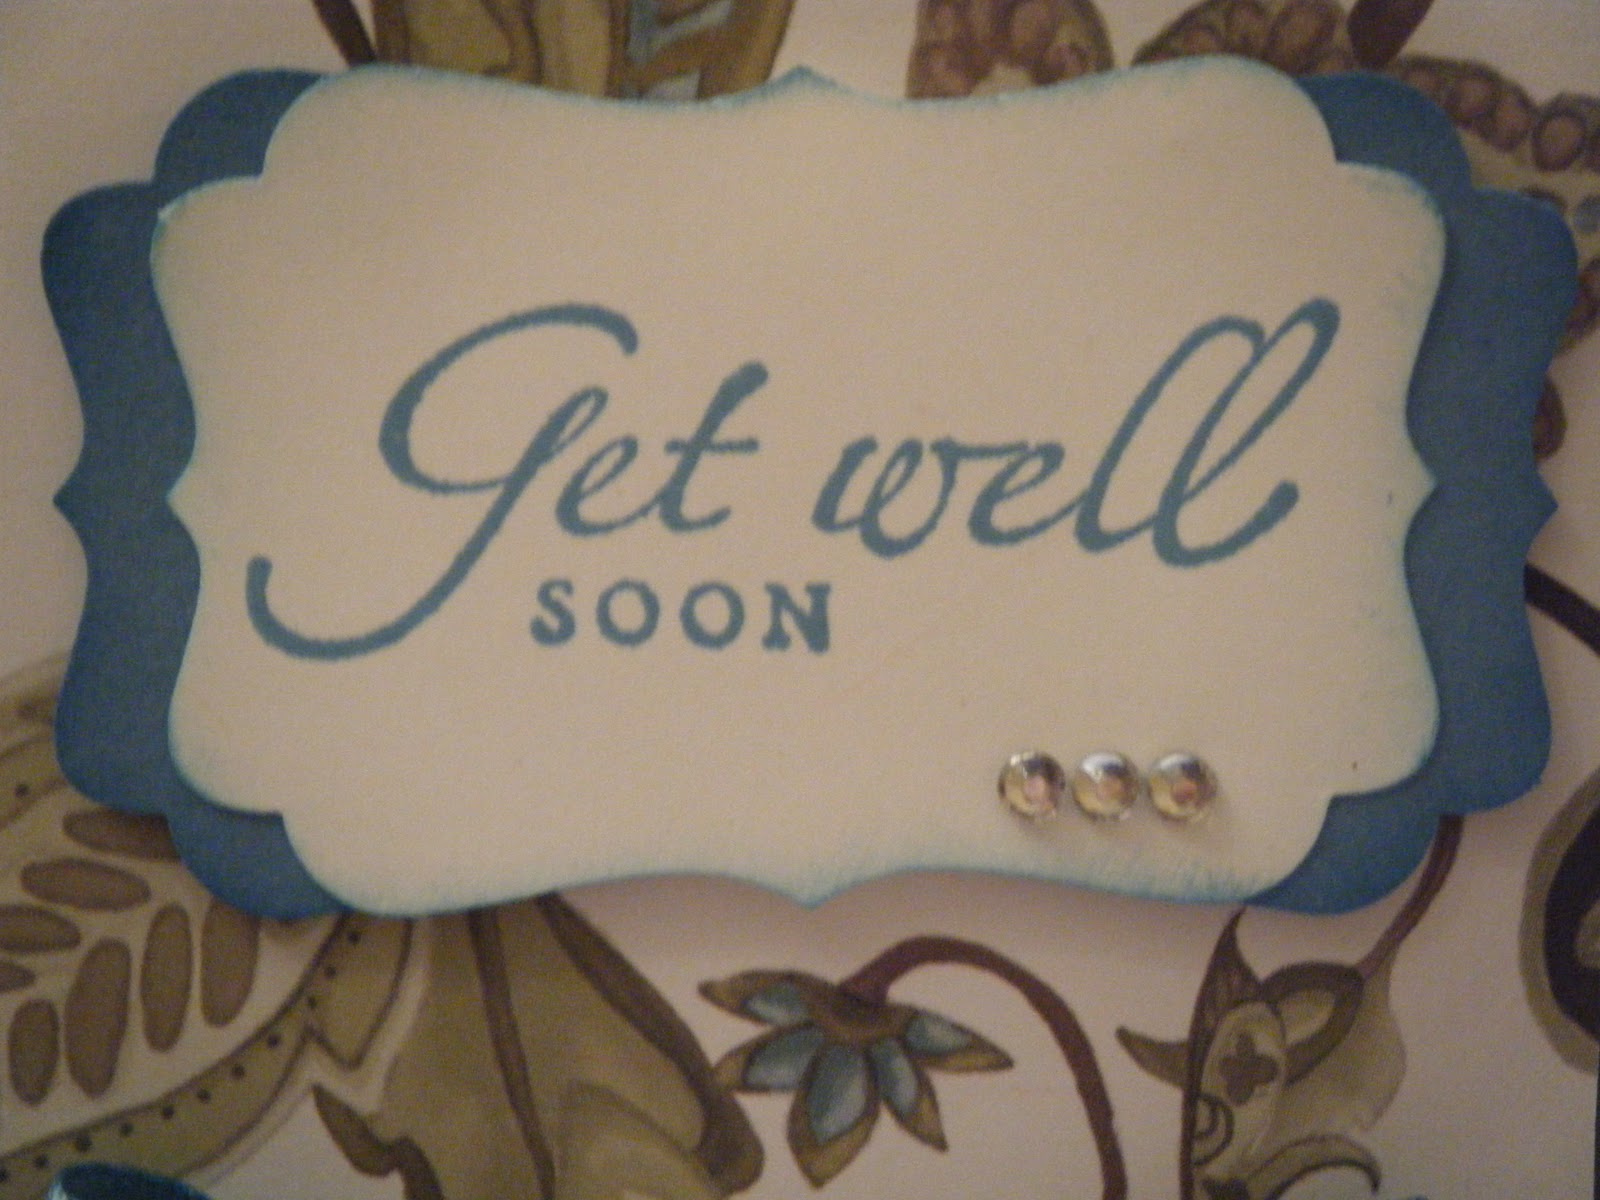
I used Always Artichoke for my base card and Marina Mist for the ribbon and the card behind the greeting, which was stamped with the Sincere Salutations stamp set and punched out with the Decorative Label punch. To get the 'double layered punched effect'  I punched  a label in Marina Mist and then cut it in half. You can then place it behind the stamped label, to give it a coloured base which helps it to stand out.

I used Marina Mist ink, so it all matched, and added a bit of bling in the form of  3 Rhinestones.
 

I also decorated the inside of the card by using the Scallop Trim Border punch on Whisper White card and stamping it with the butterfly from the Creative Elements stamp set. I love this butterfly and you will see it on some cards soon.


I hope you liked today's card. I've had a bit of a session so will have more to share with you over the next few days. Hope to see you back soon and remember, if you want any of these goodies for Christmas, contact me before the 7th December. x


Wednesday, 19 October 2011

Diaries and Notebooks class 26th October


Hi everyone, Just a quick post today showing you what we'll making in the Diaries and Notebooks class on the 26th October. I have used the Beau Chateau papers which are gorgeous. They use Marina Mist, Pink Pirouette, Soft Suede and very Vanilla as their colours, so I decided to decorate my diary in Marina Mist and my notebook in Pink Pirouette.

The photos aren't great because it's always dark now, when I take the photos - either early morning or in the evening, so it's all artificial light now. I'll have to start photoshopping them, I think.
Here's a closer look at the diary. I realised I haven't stuck '2012' on yet, so it looks a bit bare in the corner and I think I may decorate the band with a rosette to give it a bit more 'body' but you can decorate yours however you wish. This is an A5, week to-a-view diary which is included in the class price.


.


A closer look at the designer papers. I used the Eyelet border punch on mine. 


And here's a close up of the butterflies, stamped with Marina Ink mist and decorated with a Rhinestone. The stampset that I have used for all the stamping is called Creative Elements. It's lovely and very versatile. It includes the background stamp, border, butterfly and more.

Now for the notebook - again it's A5 size.


Some close ups of the detail. The letter is from the Broadsheet Alphabet and the frame is from the Four Frames stamp set and punched with the Decorative label punch. The flower is part of the Creative Elements set

And, a closer look at the designer papers. These are from the same Beau Chateau set but these are the pink ones. You will get some of each in the class, so you can use them how you like.

I usually much prefer blues to pink which is why I did my diary in blue, but I must admit I do really like the pink notebook. I've kept everything on the diary and notebook very flat, and have made sure all the edges are stuck down really well. This is because I use my diary for work and it's in and out of my bag all day long. If you tend to leave your diary on your desk or at home, you could really build up some of the images. It's all up to you.

If you would like to order any of these products, and/or join us for the class, please contact me ASAP. There are only 2 spaces left. Further details are on the 'classes' tab, at the top of the blog. Hope to see you soon. x

Sunday, 8 May 2011

Wedding Acceptance

Hi everyone,

 I wouldn't want you to think I'll be posting everyday but seeing how's it's the weekend and I have some time on my hands, I thought I should post something while I can.

We have been invited to a wedding in June - actually my husband is going to be the best man, so they definitely know we will be there, but I couldn't pass up the chance to make an acceptance card. I actually made 2 so I could put one on my samples board, and send one. I know the bridesmaid will be in a burgundy type colour, so the card I sent was made in Cherry Cobbler.

This version was made in Rich Razzleberry. I didn't have a stamp that said 'Acceptance', so I printed it on my computer. This was the result:


I used the stamp set Baroque Motifs which is extremely versatile. I stamped the swirl in Crumb Cake ink on Whisper White, and the small flower, using Rich Razzleberry ink. I used the Four Frames set and Decorative Label punch to create the Acceptance label.

The card was finished with some lush Razzleberry satin ribbon and a brad from the Hodgepodge Hardware set. This set may seem expense but it contains 100 lovely metal frames and brads, not counting the 100 small silver brads, and it lasts for a very, very long time.


I'm not sure why the brad has a pink tint to it. You can get this effect by covering it in ink and then wiping the ink away, which just leaves the colour in the indentations. I don't remember doing that for this card, but then there are quite a few things I don't remember....

Anyway, I hope you enjoyed today's card. Check back again soon. Sandrina x


Sunday, 3 April 2011

Happy Mother's Day

Well, although my 15 yr old son promised me a cup of tea in bed, I got up before him - no surprise there.... He did give me a lovely card though and the Vintage Vogue stamp set, so it's not all bad. I also had a lovely top from my daughter and a very appropriate card from my other son (who is skint).

I made this card for my mother-in-law:


I couldn't show you this card before today, in case she read my blog. I actually saw this card on the very talented Gilly's blog. The original is here and mine is almost a straight copy.

Here's another view:


I used Very Vanilla, Pretty in Pink and Crumb cake cardstock, Pretty in Pink and Crumb cake ink and the Butterfly punch. I also used a flower from the Boho Blossoms punch on the butterfly and the circle is the circle punch from the Itty Bitty Shapes punch set. I used a card blank, background stamp and ribbon which I already had.

My mum lives in Holland and they don't have Mother's Day until mid May, so I have plenty of time to make her a card. She doesn't know about my blog yet and I may have to keep it quiet for a bit longer, in case I decide to make this card again.

I was feeling creative yesterday so decided to wrap my mother-in-law's present in hand decorated paper. The wrapping paper is from Ikea, and I stamped it with Baroque Motifs. I punched some flowers using the Boho Blossoms punch and stuck them on, after wetting and shaping them. The label is from the Four Frames stamp set, punched using the Decorative Label punch.

This is what it looked like when I was finished:


I've had a great day. Hope you had a good time too. x


Saturday, 2 April 2011

Mini catalogue card

Oh no, I've done what I really dislike when other people do it - I promised to post a card later in the day, yesterday, and then I didn't. No excuses, other than I got home from work and forgot.

Here's the card I was going to post:


This was just a quick card made with some of the new products from the mini catalogue. I used crumb cake and rose red cardstock and the beautiful Springtime Vintage Designer Papers (this card doesn't really do the papers justice at all). I also used the new Decorative Label punch and the matching Four Frames stamp set.

Here's a closer view of the stamped label. I used rose red ink:


The roses are part of the stamp design, aren't they gorgeous? The 'thanks' is one of the greetings from the retired sale-a-bration set, So Happy For You.

I used the new Rose Red seam binding ribbon from the mini catalogue. It also comes in Crumb Cake, Baja Breeze and Pear Pizzazz. It's very soft and drapes beautifully. You can get a bit of an idea of that here:


I'll be making lots more projects using stash from the mini catalogue over the next few weeks, so keep checking back. x