Showing posts with label Scallop Trim border punch. Show all posts

Friday, 16 March 2012

Owl party

Hi everyone. Where has the time gone? This week has flown by. Everyone had a great time on Tuesday making their Mother's Day cards and Flip Album and I will show you pictures of that later. I've got  something a little bit different to show you this morning. I found some very cute little owl lip balm pots in my local shop and they immediately made me think of the very similar colours of Stampin' Up! cardstock. So I bought them and made little boxes for them, ready to sell at a fair I'm doing on saturday. I then realised I had a similar coloured owl money box and so grouped them all together for a 'party' photo:


The colours I used are Melon Mambo and Concorde Crush and for the other set (you can just see them peeking out of their boxes), Island Indigo and Lucky Limeade. Here's a better view of the flowers on top of the boxes and the little owls:


The boxes were made using the Mini Milk Carton die and the Big Shot and the lids were cut and scored by hand and then punched using the Scallop Trim Border punch. To get the small box shape, you only die cut the bottom half of the mini milk carton. The flowers on top of the boxes were cut using the Flowers, Daisies die and the Big Shot again:
 
Posted by PicasaI hope you like these and that it shows you just how versatile the dies can be. Ofcourse, I am working on a matching card but haven't finished it yet as I've been busy making things for the fair, so, watch out for the card later. If you would like to come and see me at the Beeston Fair, it's being held at the Pearson Centre in Beeston, 10.30-4.00pm on Saturday 17th March. Have a great day. x

Tuesday, 6 December 2011

Thinking of You

Good morning everyone. Today I'm sharing a card which I made for a friend who lost someone close to her family. I didn't want to do a traditional Sympathy card, so did this instead. I must apologise for the poor quality of my photos lately. I constantly end up taking these photos either early in the morning or in the evening and it's always dark outside!

The colours on this card are actually Concorde Crush and Basic Gray. You can see it better in the last couple of photos. The Basic Gray panel is from a discontinued designer paper but plain Basic Gray would work just as well.


I used my favourite Creative Elements stamp set for the background swirl, stamped in Concorde Crush ink and I used the Beautiful Wings Embosslits die and Big Shot, to cut the butterflies. I added a few pearls - you can see them better in the close up below:


As before, I stamped the inside with the butterfly from the Creative Elements stamp set and, in this photo you can finally see that the card is actually the deep purple of Concorde Crush. I used my trusty Curly Cute stamp set to stamp the sentiments and the Scallop Trim border punch to create the edging.


I was really pleased with how this card turned out. Just such a shame that it was for a sad occassion. See you soon.

Sunday, 4 December 2011

Vintage Birthday Greetings

Good morning everyone. A birthday card from me today. I have finally got round to using my Beautiful Wings Embosslits die. I have had this die for a while but just haven't had time to use it. Now that I have though, I have fallen in love with it. This die cuts the most beautiful, dainty little butterflies and embosses them, at the same time. This die is not to be confused with the Beautiful Butterflies die, which cuts larger butterflies which can actually be used to make a card base.


I used Cherry Cobbler for my base card and First Edition speciality papers for the panel on top. These papers are great value as you get 24 sheets instead of 12, so double the amount for your money. I ran the First Edition panel through the Vintage Wallpaper embossing folder and the Big Shot, after I had inked the embossing folder with Crumb Cake ink. It is difficult to see in the picture but it makes the background of the panel a nice 'crumb cake' colour while the raised embossed pattern remains vanilla. I stamped a strip of Cherry Cobbler with the background stamp from the Creative Elements stamp set, and edged it using the Scallop Trim Border punch.

I then used the Sincere Salutations stamp set for the greeting and the Decorative Label punch to cut it out and to create the Cherry Cobbler border.

I added some Pearls and the wonderful Crumb Cake Seam binding to give it the finishing touch. Everything was sponged with either Crumb Cake or Cherry Cobbler ink to give it a bit of definition round the edges and I scrunched the ribbon to give it a 'vintage' feel.


I stamped the inside with my favourite butterfly from the Creative Elements set and used the Scallop Trim Border punch again.
I made this for a colleague at work and she was very pleased with the result. Check back soon for another card made with the Beautiful Wings Embosslits die. x

Wednesday, 30 November 2011

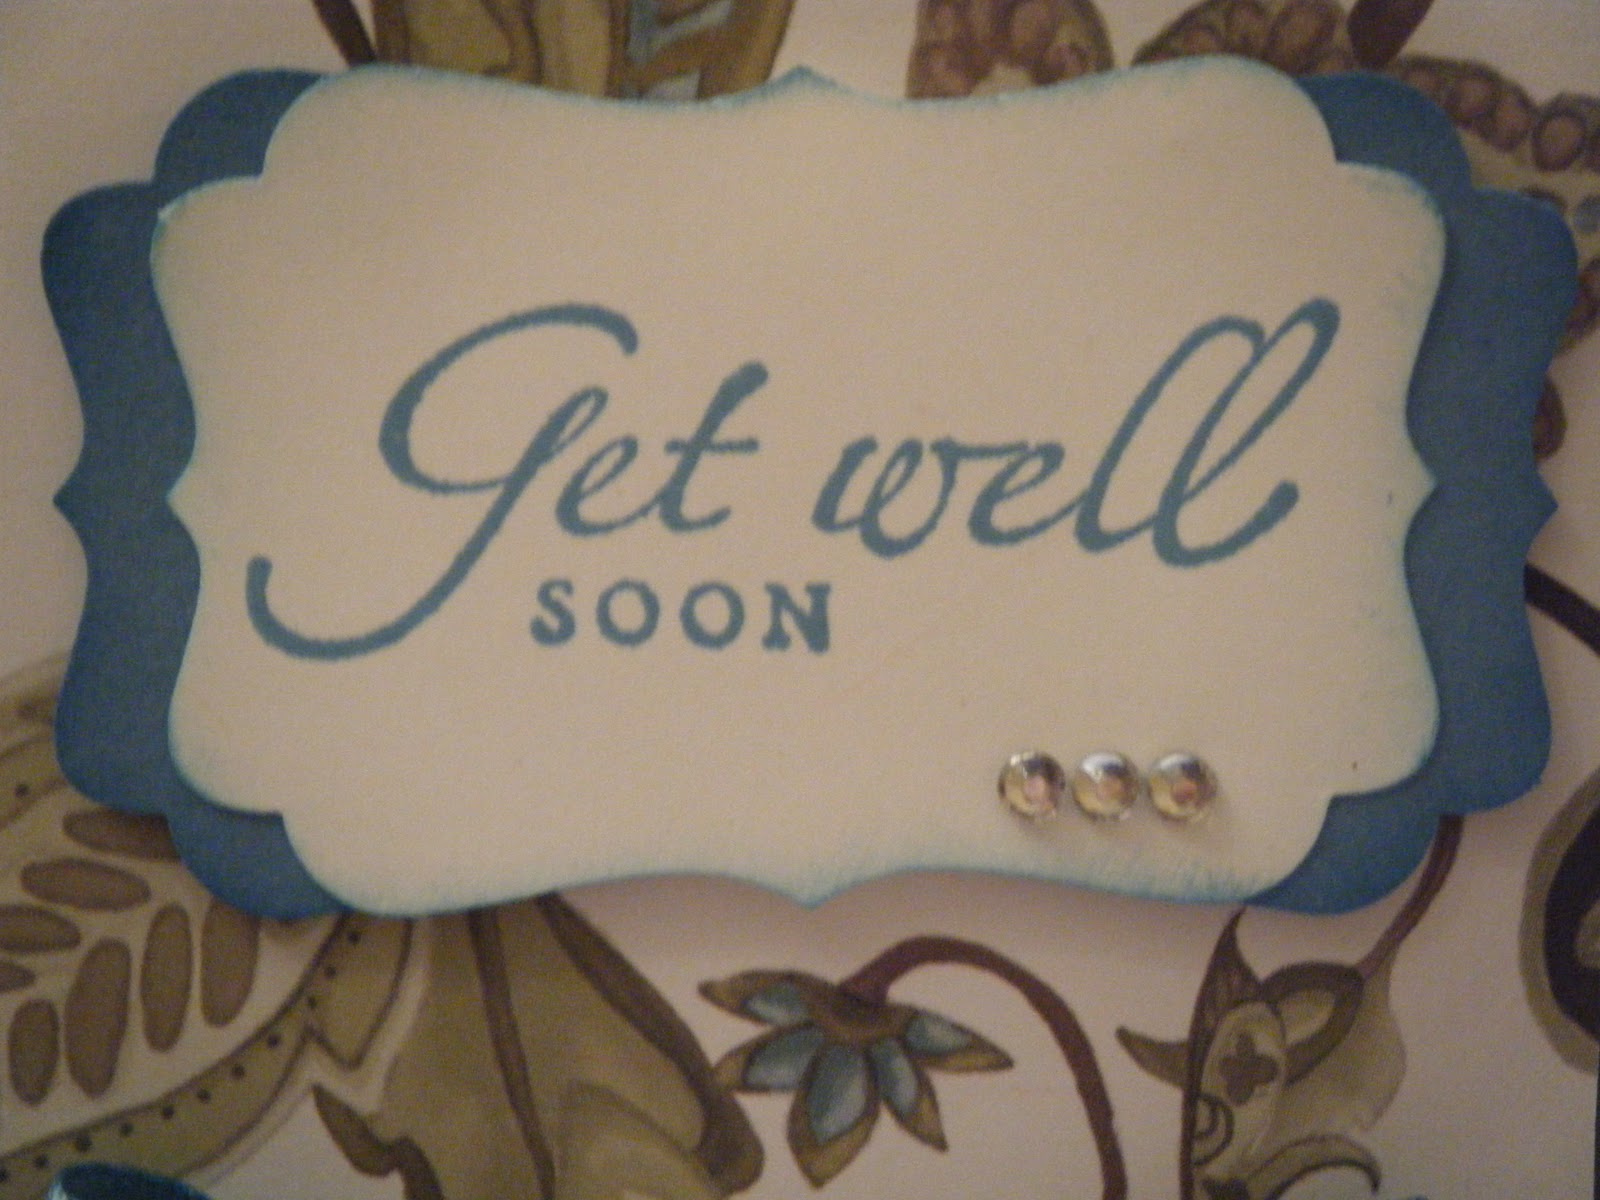
A Paisley Get Well

Hi everyone, I wanted to share this Get Well card with you. I made this for one of my regular card class ladies, who has been feeling under the weather recently.


I made this card using the Paisley Petal Designer papers. I love these papers. the colours are so rich and there are lots of different colours in the papers, so you can choose your own favourites for the base card and detail. There is also a matching Paisley Petals stamp set, but I haven't used it on this card.

I used Always Artichoke for my base card and Marina Mist for the ribbon and the card behind the greeting, which was stamped with the Sincere Salutations stamp set and punched out with the Decorative Label punch. To get the 'double layered punched effect'  I punched  a label in Marina Mist and then cut it in half. You can then place it behind the stamped label, to give it a coloured base which helps it to stand out.

I used Marina Mist ink, so it all matched, and added a bit of bling in the form of  3 Rhinestones.
 

I also decorated the inside of the card by using the Scallop Trim Border punch on Whisper White card and stamping it with the butterfly from the Creative Elements stamp set. I love this butterfly and you will see it on some cards soon.


I hope you liked today's card. I've had a bit of a session so will have more to share with you over the next few days. Hope to see you back soon and remember, if you want any of these goodies for Christmas, contact me before the 7th December. x


Wednesday, 20 July 2011

Owl Card class today

Hi all, well Wednesday is finally here and it's card class to night. This is what everyone will be making:


I will post more details of all the cards throughout the next week or so but here are the Christmas cards. Remember it's never too early to start making Christmas cards. Here are the penguins, they are owls with their ears cut off (!)


I have seen quite a few versions of this card, so don't know who came up with the original idea. I used Bashful Blue card and Whisper White card for the snow- the card was torn and the edges glittered with Dazzling Diamonds glitter. I stamped some snowflakes with a non-Stampin' Up punch and added them to the sky. I love the 'embossed effect' you get by using punched shapes in the same colour as the background. The greeting is from Sincere Saultations. Here are some close ups:


Then we have Rudolph:


I used Real Red and Old Olive cardstock for this card and some Real Red designer paper. I used the scallop punch and the Scallop Trim border punch. Rudolph's antler were made using the Little Leaves Die and his nose was covered in red glitter. The greeting is from the Contempo Christmas stamp set.
Hope everyone enjoys making these tonight and I will tell you about the other cards later. If you want to join us in any of the classes, please contact me. x

Saturday, 16 July 2011

Baby Blossom cards and a quilt

Hi, today I wanted to show you one of the cards we made at card class on Wednesday. We all had a lovely time and everyone worked hard to complete their box and 3 cards, but there never seems to be enough time. Foolishly, I didn't take photos of what everyone made which is a shame as the sets looked completely different when done in different colours.


Some of the girls weren't able to make the class so they will make their projects this Wednesday. I'll try and remember to take photos of the pink set. The blue set was really vivid but you'll just have to take my word for it as no-one is making a blue set on Wednesday. On Wednesday, the rest of us will be making projects using the Owl punch, so I'll post photos of them later in the week. Here's a close-up of the card, above.


For the yellow set we used Daffodil Delight and More Mustard card and ink, Very Vanilla for the background and some Pear Pizzaz. The Baby Blossom stamp set is absolutely lovely. You can make such a variety of background papers with it, the possibilities are endless. The edging was done using the Scallop Trim border and corner punch.


Now, it was my birthday last week and my mother-in-law made me this beautiful quilt:


Photos could never do it justice but it is absolutely gorgeous. It is backed with this lovely Japanese fabric:


She gave it to me during card class, and I think most of the  girls now want to take up quilting too!
Hope you're all having a lovely weekend, despite the rain.x

Thursday, 31 March 2011

Another leaving card

Another friend left work today and I made her this card/treat holder. Again it is a design by Becky Roberts and part of her 12 days of Christmas 2010, tutorial.


I made this one in Pretty in Pink and Rose Red cardstock, with Pretty in Pink designer paper from the Subtles Designer Series Paper Patterns Stack. I also used Rose Red ribbon and this time I did use a brad from the gorgeous Hodegepodge Hardware set.


I used the Scallop Trim border punch on the folded edge and the Round Tab punch to create the tab at the top of the tag. Unfortunately I had already written on the tag, so I didn't want to take a photo of it. I decorated the tab with the same motif from the Tiny Tags stamp set as I used yesterday. The greeting is from the wonderfully useful Basic Phrases stamp set and I used the Word Window punch, to punch it out. A couple of Basic Rhinestones finished it off. Here's a closer look:


I filled the box with chocolates and handed it over with some flowers. My friend absolutely loved it and I had fun making it. The effort is always worth it when you see how much people appreciate a handmade gift.

Just for a change my next post is not a leaving card, so check back to see what it is instead. x